If you are an artist or a painter, you cannot avoid edges. Every shape in a painting has an edge, boundary, or margin that provides essential information about the subject. When you can focus a viewer’s attention on the edges of shapes, not the interiors, you define the shape. By altering the characteristics of edges, you can make clear what is most important in your painting.
Edges can also suggest the mood or atmosphere of a subject. A hazy, humid picture might have many soft, fuzzy edges, and generate a mellow feel. Or a painting of a cold, crisp winter day might have numerous numerous hard edges.
As a painter, it is important to use the appropriate edges to pass along accurate information to your viewer. The right type of edge makes your subject recognizable. For example, a rock, house, or boat might have mainly hard edges, while a cloud, fog, or smoke have primarily soft edges. Edges can suggest a sharp transition or soft blending. While each object can be essentially hard- or soft-edged, there should always be some variation in edge treatment in each shape or object to add variety and interest. While clouds will be predominantly soft, a few hard edges will attract the viewer’s eye and encourage a closer look.
Edges can also create distance and separation between objects in a picture. For instance, a hard-edged object will appear separated from and in front of what is painted near it, suggesting space. On the other hand, a soft-edged object tends to blend in, to appear to touch, be close to, or be surrounded by nearby shapes.
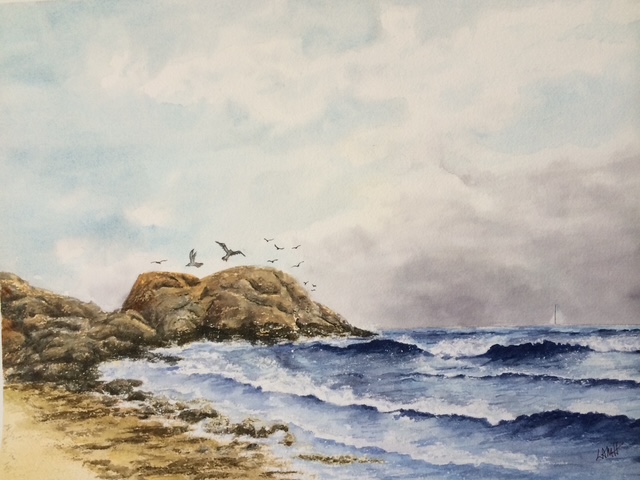
“Oceanside” Watercolor – Hard and soft edges.
TYPES OF EDGES.
There are a variety of different edge characteristics. Try to include many kinds of edges in your paintings!
HARD, abrupt, or sharp edges stop the movement of the eye. Your eye focuses on the hard edge and moves along the line’s edge, hopefully, to the most interesting part of the picture. Some hard edges are good in a painting, but using only hard edges will result in a flat image without depth. ROUGH edges also attract attention, particularly if value contrast (light and dark) is high. An OVERLAPPED edge is a variation of the hard edge. To create an overlapped edge, paint a shape and let it dry. Paint another nearby shape by just overlapping the previous edge to create a small section of a third color and a transitional edge.
A SOFT, faded, or blurred edge allows the eye to easily move from one shape right over the edge to another shape. Soft edges can suggest movement or allow the viewer to imagine and interpret parts of a picture. Softer, less-defined edges are used to de-emphasize, and are useful in the background or distance, within a shadow, or when you want a shape to recede further toward the background. Soft edges are gentle and a bit blurred; perfect when painting fog, haze, or mist.
“End of the Day” Watercolor – Hard and soft edges.
A LOST edge is a variation of a soft edge, where the edge or boundary of an object can’t be seen although the viewer knows it must be there based on other parts of the painting. One shape has merged into another, as in a dark shadow. When the values of touching shapes are the same, the edge between them tends to vanish, whether soft or hard, even when there is a color change. Lost edges force the viewer to invent any missing information, and can be quite interesting. By creating shapes of equal values, you will be able to merge edges. A BROKEN edge, or lost-and-found edge, keeps a painting from being static; the edge appears and disappears.
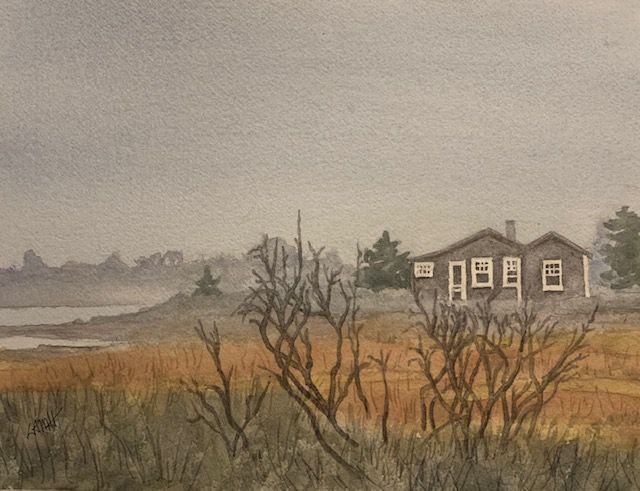
“Ocean Cottage in Fog” Watercolor – Varied edges.
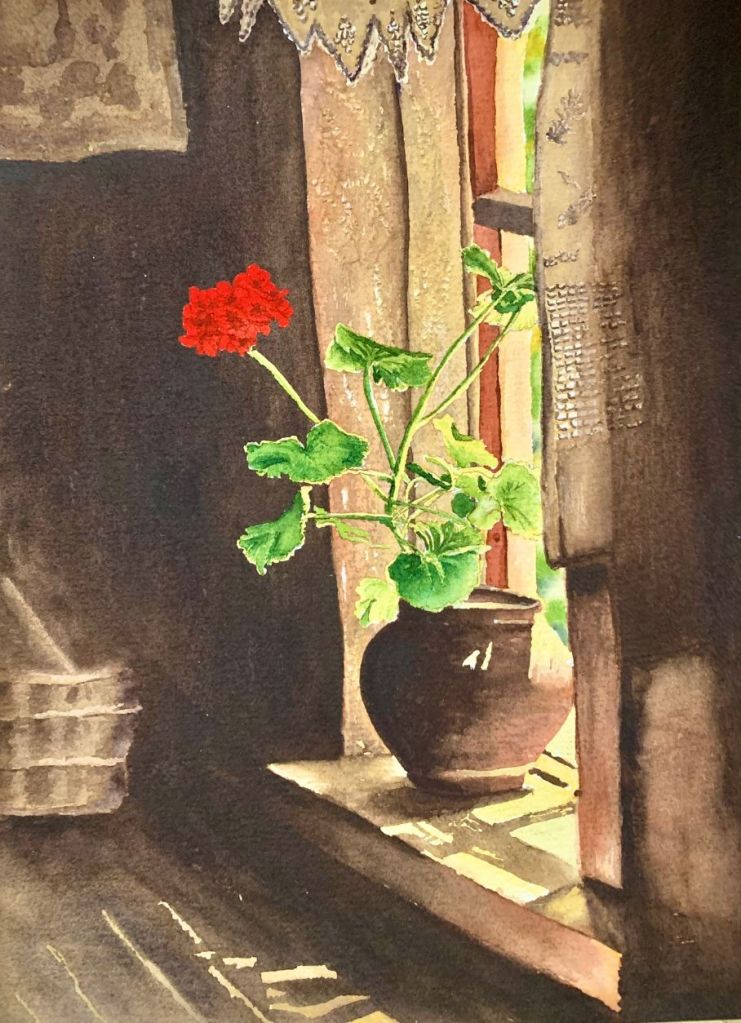
“Red Geranium” Watercolor – Varied edges.
HOW TO PAINT EDGES.
To paint a HARD edge, make a stroke of paint on DRY paper and let the paint dry. ROUGH edges are painted on dry paper with somewhat thicker paint. By using the side of the brush, paint skips over the bumps in the paper (similar to a dry-brush mark).
In contrast, a SOFT edge is created by painting on WET paper (wet-in-wet). The degree of moisture on the paper affects how soft the edge will be. The wetter the paper, the more the paint will soften and dissipate. A soft edge can also be made by charging or painting one color next to a second color. (See my related blog post published June 4, 2019, “Charge Ahead and Mingle: Blending Color On Watercolor Paper”, https://leemuirhaman.com/2019/06/04/charge-ahead-and-mingle-blending-color-on-watercolor-paper/.)
Or form a soft edge by applying paint, then softening the edge with a damp brush, while the paint is still wet. If the paint has dried before you soften, you can still run a damp brush along the edge of the paint, but let the wetness soften the paint briefly before gently tickling the edge to get the edge paint to start to soften. It’s much easier to soften BEFORE paint dries, however. (See my related blog post published October 23, 2018, “Softening An Edge or Fading Out”, https://leemuirhaman.com/2018/10/23/softening-an-edge-or-fading-out/.)
HOW TO PLAN YOUR EDGES.
How can you decide which edges should be painted with a hard edge, or soft, or rough, or lost? Why can’t you just make all the edges hard and detailed? I encourage you to go beyond copying every detail of a reference. Instead, strengthen your painting by thinking ahead and planning to vary edges before you begin painting.
Decide on your painting’s center of interest. Your focus will generally be painted as the area having higher value contrast and harder edges. Also look for areas where there is lower value contrast and probably softer or lost edges. Remember that light and the light source affect how you see edges. Make a note to help you remember! Direct or bright light will form harder, sharper edges, even lost edges in extremely bright light. Shadowed areas, distant objects, or darkness will suggest softer, perhaps lost edges, with less detail.
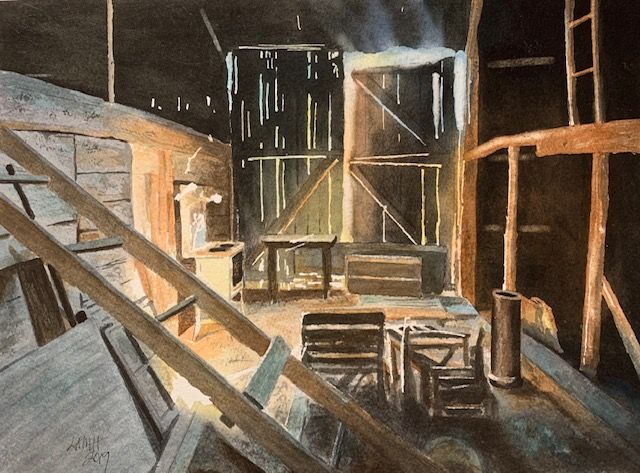
“Tristan’s Barn Interior” Watercolor – Varied edges.
VARY EDGES.
Strive to NOT have only hard edges! INVENT some lost edges if you have to. In other words, don’t emphasize and detail every edge. Your painting would appear flat and unnatural. Plan where you’ll need to lose some edges. When drawing, you could leave out some lines entirely where you would like to lose an edge. Plan for each shape in a painting to have VARIED edges, not totally hard or totally soft.

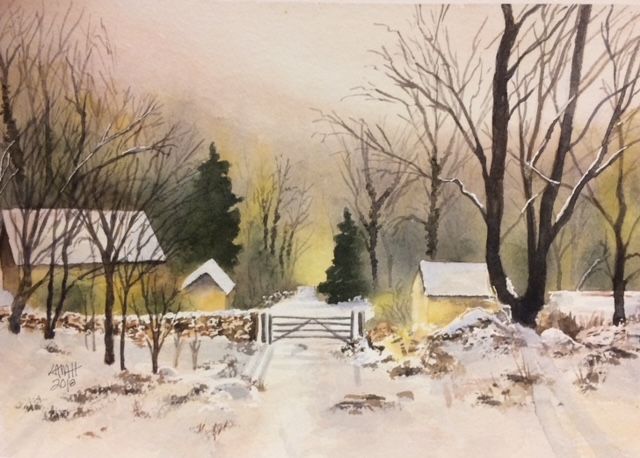
“Sledding with Polish Pretzels” Watercolor – Varied edges.
INTERESTING EDGES.
It is also important to vary, even modify, the shape of your edges to make the shapes interesting. A boring symmetrical shape can result when you paint a uniform, unbroken edge. Edge shapes that interact with the surrounding shapes and allow nearby space to move into the shape (things stick out and down into it) are more interesting. For example, vary the position and angles of tree branches to create rhythm. You might vary the height and spacing of fence posts to make more interesting shapes that improve the strength of your picture.
Or let the edge shape define a field with an interesting border, rather than rely on the surface detail of a thousand grass blades. (At times, the only detail necessary may be at the edge of a shape.)
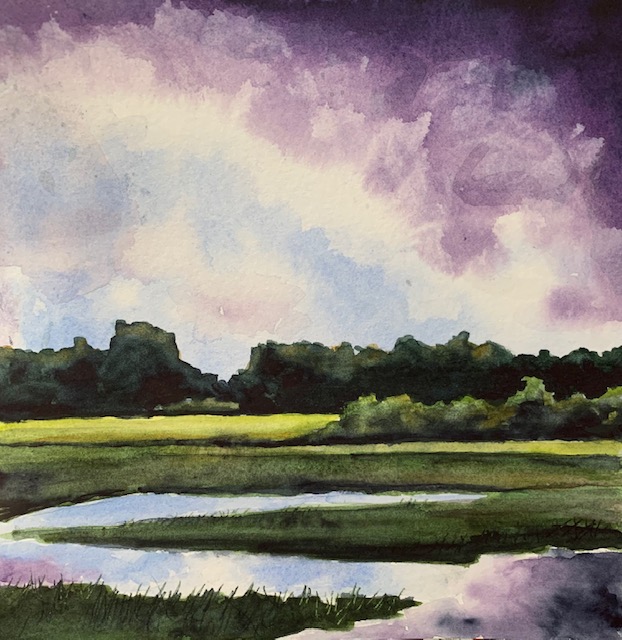
“Purple Swamp” Watercolor – Edge shapes.
IN SUMMARY.
Edges provide essential information about a subject. As an artist, you can provide the viewer with the correct information by using appropriate edges. A few of the things that edges can tell you are how strong the light is and from what direction it is coming, what the weather is, what the center of interest is in a painting, and distances of objects from the viewer.
To avoid a rigid painting, vary your edges! Remember that hard boundaries indicate the importance of an object in your picture. A hard edge stops the eye and directs the viewer to follow the edge. Value contrast also makes a hard edge more obvious. Yet, too many hard edges and too much detail can be confusing and monotonous. By varying edges, you create interesting things to look at and you encourage the viewer’s gaze to wander and flow from one part of your picture to another. Have many kinds of edges in a painting. The greater the variety of edge treatments, the more interesting your painting is to look at!
Join me and get painting tips, inspiration, recent art news, or information about new art or products for sale, sent to you occasionally by email. Subscribe here. I’ll give you a free copy of my Color Blending Tips pdf. that you can download and print.

Leave a comment